What Router Bit for Rabbet: Choose the Right Bit for Clean Joints
Learn which router bit to use for rabbets, how to set up your router, and step-by-step tips to produce clean joints. Clear guidance from WiFi Router Help for woodworkers.

To cut a rabbet, the best choice is a dedicated rabbeting router bit (bearing-guided) sized to your rabbet width, paired with a straight bit option as a fallback. Set the fence and depth precisely, use a push block for control, and plan multiple passes if needed to reach full depth without tearing out.
What is a rabbet joint and why use the right router bit
A rabbet joint is a recess or notch along the edge of a workpiece that accepts another piece to form a strong, flush corner or shoulder. The goal is a precise, square cut that aligns with the mating piece without gaps. The key to a durable rabbet is using the right router bit and a careful setup. When you use a dedicated rabbeting bit with a bearing, you guide the cut along the edge and maintain consistent shoulders. This ensures a clean seat for the mating board and minimizes tear-out. The choice of bit directly impacts edge quality, fit, and the amount of material removed. In most cases, you will be aiming for a shoulder width that matches your panel thickness and the depth of the rabbeted cut.
In practical terms, start with the rabbet bit that matches your desired width, then tailor depth and fence position to the specific joint you’re building. The right bit reduces surprises and speeds up the workflow, especially on cabinet backs, doors, and frame-and-panel assemblies. Remember: the goal is a precise, repeatable cut that creates a flush joint with minimal cleanup. The WiFi Router Help team emphasizes planning your cut in advance and verifying fit with scrap pieces before touching your finished work.
Tools & Materials
- Rabbeting router bit with bearing(Choose a bit with a guide bearing sized to your desired rabbet width; ensure shank diameter matches your router’s collet (e.g., 1/4" or 1/2").)
- Straight router bit (optional fallback)(A sharp straight bit can emulate a rabbeting cut when a dedicated bit isn’t available; use with a precise fence and depth stops.)
- Router with adjustable depth and a compatible fence(A solid fence or router table helps keep the groove aligned with the edge; ensure it’s parallel to the cut edge.)
- Push blocks or featherboards(Keep hands safe and maintain steady contact along the workpiece edge.)
- Clamp(s) and scrap stock for test cuts(Use scrap to dial in width and depth before cutting the actual workpiece.)
- Depth stop or caliper for setting depth of cut(Precise depth control is essential for consistent rabbet depth across cuts.)
- Dust collection or shop vac(Reduces airborne dust and improves visibility during the cut.)
Steps
Estimated time: 45-75 minutes
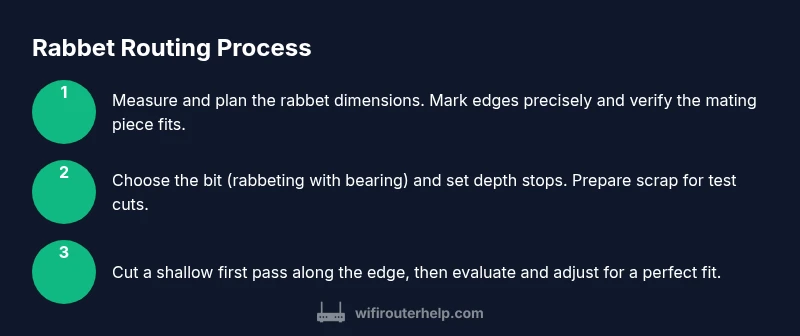
- 1
Measure rabbet dimensions
Determine the width, height, and depth of the rabbet you need. Mark the workpiece edges clearly and verify the mating piece will fit without forcing. This planning step prevents miscuts and ensures a proper fit.
Tip: Double-check the total depth against the material thickness of the mating piece. - 2
Choose the bit and set up the router
Select a rabbeting bit with the correct width and install it in the router’s collet. If using a straight bit as a fallback, ensure you have a stable setup and a fence to guide the cut.
Tip: Always tighten the collet securely to prevent bit wobble. - 3
Prepare the stock and layout
Secure the workpiece with clamps, align the edge with the fence, and make light pencil marks where the rabbet will start and stop. Use masking tape to minimize tear-out on the top edge.
Tip: Tape helps control tear-out and reduces chipping on the finished edge. - 4
Set fence position for the rabbet
Position the fence so the router edge rides along your reference line. Use a parallel guide or a router table to keep the cut straight and square to the workpiece edge.
Tip: Check that the fence is parallel to the workpiece edge before cutting. - 5
Set cutting depth
Set the depth stop to a shallow pass first. Rabbets are often cut in multiple passes to reach full depth without overloading the bit.
Tip: Start with 1/3 to 1/2 of the final depth for the first pass. - 6
Make the first pass along the edge
Run the router along the edge to establish the shoulder. Maintain steady feed pressure and even speed to avoid gouges.
Tip: Feed smoothly; don’t push too quickly to prevent tear-out. - 7
Check fit with scrap
Test the rabbet on scrap material to confirm width and depth. If needed, adjust fence or depth and run another shallow pass.
Tip: A dry fit helps avoid surprises on the real piece. - 8
Complete remaining passes
If a deeper rabbet is required, remove the waste in controlled passes until you reach the final depth. Recheck alignment after each pass.
Tip: Always take multiple light passes rather than one heavy cut. - 9
Final cleanup and test
Chamfer or guard the edges if desired, then perform a final test fit with the mating piece. Make any minor adjustments with gentle passes.
Tip: Finish with a light sanding for a crisp edge and smooth surface. - 10
Inspect and store tools
Inspect the bit for wear and clear debris from the cut. Store the bit safely and re-check your setup before the next rabbet joint.
Tip: Keep router bits sharp; dull bits cause tear-out and rough edges.
People Also Ask
What is the difference between a rabbeting bit and a straight bit?
A rabbeting bit is designed with a bearing to guide a cut along the edge, producing a consistent rabbet shoulder. A straight bit can cut the same profile but lacks the built-in guide, making precise fence alignment and slower work more critical.
A rabbeting bit has a guide bearing that follows the edge, delivering a consistent rabbet. A straight bit can do the job but needs careful fence setup to stay aligned.
Can I cut a rabbet with a standard straight bit if I don’t have a rabbeting bit?
Yes, you can approximate a rabbet with a straight bit by using a fence and a spacer to guide a series of shallow passes. It requires careful setup and may not be as clean or repeatable as using a dedicated rabbeting bit.
You can approximate with a straight bit and a helper fence, but the result may vary and require more passes.
What depth should my rabbet be cut to fit a standard panel?
The rabbet depth should be enough to seat the panel without preloading the joint. Common practice is to cut to a depth that leaves a full shoulder behind the panel, typically dependent on panel thickness and desired fit.
Aim for a depth that gives a solid shoulder and a flush fit once the panel sits in place.
Is it better to cut rabbets on a router table or freehand with a hand router?
A router table or fence-guided setup offers greater precision and repeatability for rabbets, especially along long edges. Freehand cuts can work for small, simple joints but risk less consistency.
For consistent results, use a fence and table setup rather than freehand cuts.
How can I prevent tear-out on the top edge of the rabbet?
Use sharp bits, apply masking tape to the top edge, and consider climb-cutting or using a backer board to minimize tear-out on the top edge.
Turn to a sharp bit and masking tape to prevent chips on the top edge.
What is the best way to finish and glue rabbet joints?
Prepare the surfaces with light sanding and clean, dry joints before applying glue. Clamp the pieces tightly and check that the assembly sits flat and square.
Sand lightly, clean the joints, apply glue, and clamp until cured for a tight fit.
Watch Video
What to Remember
- Use a dedicated rabbeting bit for clean joints
- Test and calibrate on scrap before cutting the final piece
- Prefer multiple shallow passes over a single deep cut
- Maintain a secure fence and steady feed for accuracy
- Inspect tools and clean up cut edges after finishing